
What Are the Processes in Cleaning Stucco Walls?
The charm and texture of stucco walls add a distinct aesthetic to any home. However, as stucco is a porous material, it’s susceptible to dirt accumulation and staining. Therefore, a careful and systematic cleaning process is needed to maintain its appearance without causing damage.
What Are the Processes in Cleaning Stucco Walls?
Here are the step-by-step processes involved in cleaning stucco wall effectively.
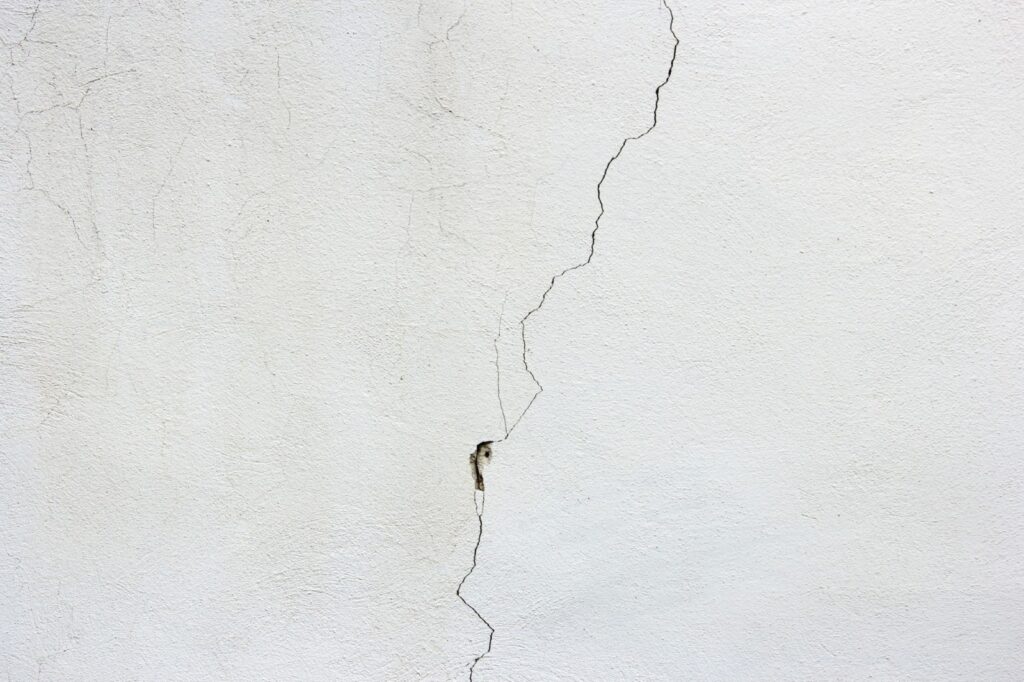
Step 1: Inspection and Preparation
The initial phase involves inspecting the stucco surface for cracks or other damage that could be worsened during cleaning. This is also the time to prepare the area around the wall. Cover plants and outdoor furniture with tarps to protect them from cleaning agents and water runoff. Additionally, make sure to have a ladder handy for reaching higher areas.
Step 2: Dry Cleaning
Before introducing any water or cleaning solutions, it’s recommended to start with a dry-cleaning method. Using a soft brush, gently remove loose dirt and debris from the surface. Brush in a downward motion to avoid pushing dirt into the stucco’s pores.
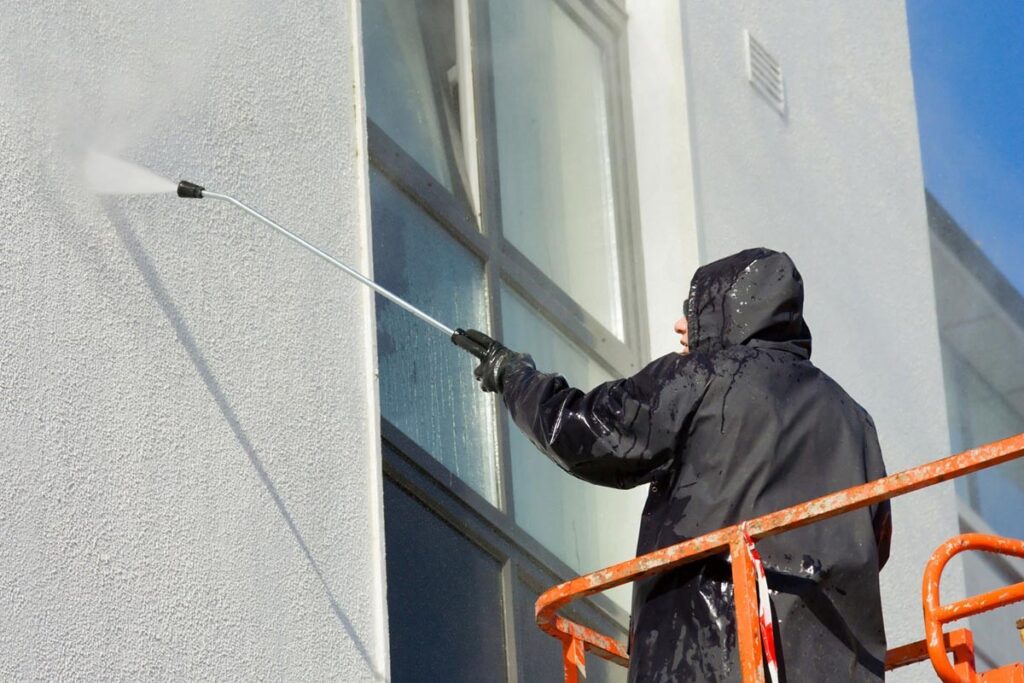
Step 3: Mild Water Pressure Cleaning
Following the dry brushing, rinse the wall with a garden hose fitted with a spray nozzle. Begin at the top and work your way down, maintaining a gentle pressure to avoid damaging the stucco. This stage often removes a surprising amount of dirt and is sometimes enough to restore the stucco’s look.
Step 4: Apply a Cleaning Solution
If the stucco is still dirty after water rinsing, a mild cleaning solution is your next step. A mixture of warm water and mild dish soap or a vinegar solution (1 part vinegar to 6 parts water) are usually safe and effective choices. Apply the solution using a soft brush or sponge, working in small sections. Don’t let the solution dry on the stucco; it should be rinsed off within five to ten minutes of application.
Step 5: Rinse Thoroughly
Use your garden hose again to rinse off the cleaning solution thoroughly. Just as before, start from the top and work your way down. Be careful to rinse off all the soap to avoid leaving any residue, which can attract more dirt.
Step 6: Stubborn Stains Treatment
For stubborn stains that survive the previous steps, a specialized cleaner may be required. Be cautious, as some chemicals can discolor or damage stucco. Therefore, always test any commercial cleaner on a small, inconspicuous area first. Follow the product’s instructions closely and rinse thoroughly when done.
Step 7: Allow to Dry
After cleaning, allow the wall to dry fully. Stucco can retain water, so this may take some time. A thoroughly dried wall gives you a chance to assess your work accurately and identify any areas that may require additional cleaning.
Step 8: Sealant Application
Applying a sealant is the final step in the process, but it’s optional. A quality sealant can provide a layer of protection against dirt, moisture, and UV rays, thus reducing the need for frequent cleanings. Make sure to choose a sealant suitable for stucco and follow the manufacturer’s instructions.
Conclusion: What Are the Processes in Cleaning Stucco Walls?
Cleaning stucco walls is a delicate process that requires patience and meticulousness. Nevertheless, with the correct methods and products, you can restore the beauty of your stucco walls, preserving the unique appeal of your home’s exterior.
Recent Comments